
How to Leak-Proof Test Dropper Bottles Before Launch

A leaking dropper bottle does more damage than a spilled serum. It stains the carton, oxidizes the formula, triggers refund photos, and erodes the trust a new brand spent months building. The frustrating part is that most leaks are caught cheaply — if you test before the launch, not after the first complaint. This guide walks through the leak tests that actually matter for dropper bottles, why they fail, and how to build a pre-ship routine that fits a small batch or a 50,000-piece order.
Key Takeaways
If you only run five checks before launch, make them these:
- Test with your real formula, not water: viscosity and chemistry change how a seal behaves; a bottle that holds water can still weep oil or alcohol.
- The inversion test is your baseline: fill, cap to spec, invert on white tissue for 24–48h; any film at the neck is a failed seal.
- Torque is the most common failure point: too loose leaks, too tight cracks glass or crushes the liner — measure it and keep it consistent across the batch.
- Vacuum / pressure-decay finds micro-leaks: invisible to the eye but enough to oxidize a product over time; reference method is ASTM D4991.
- Buy the bottle and closure as one matched system: "20mm equals 20mm" is false; neck finish, liner, and dropper must be validated together.
Why Dropper Bottles Leak: The System, Not the Glass
When a dropper bottle weeps around the neck, the glass is rarely at fault. The failure sits at the mechanical interface between the glass finish and the closure lining. Three variables decide whether that interface holds: thread engagement, land-area flatness (the top rim surface), and liner compression. A mismatched thread pitch seats the cap at a slight angle, so downward force lands unevenly and leaves a microscopic gap. A rim with a tiny "dip" or "saddle" — measurable to 0.05 mm — can defeat any amount of torque. And a liner that swells against an essential-oil or solvent formula loses its shape and its seal.
That is why mixing vendors is the classic trap: a bottle from one supplier and a dropper from another, bought on the assumption that the sizes match. They usually do not. Treat the bottle-and-closure set as a single engineered assembly, validated together, or you are gambling on two parts designed in isolation.
The Five Tests Every Dropper Bottle Should Pass
You do not need a lab to catch the majority of leak risk. A structured routine beats expensive equipment used once. These five cover storage, transport, and shelf life.
1. Inversion test (the workhorse)
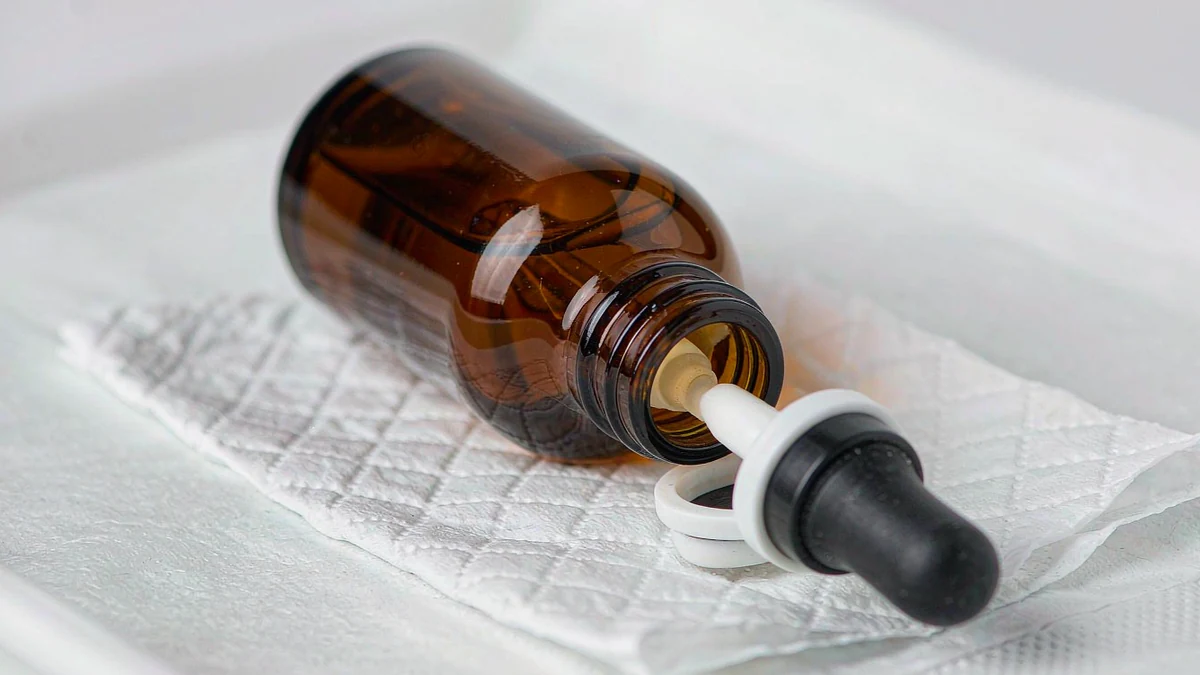
Fill the bottle with your actual formula, cap it to the documented torque, and stand it upside down on a clean white tissue or absorbent paper for 24–48 hours. Wipe the neck and check for any film, staining, or wicking. It simulates the tipped-over bottle in a warehouse bin or a courier’s sack. Run it upright and on its side too — real distribution exposes different seal interfaces for different lengths of time.
2. Vacuum or pressure-decay test (micro-leaks)
Place a sealed, filled unit in a test chamber and evacuate or pressurize it, then watch for a pressure change. Even a pinhole too small to drip water will show up as a measurable decay curve, and it is exactly the kind of slow leak that oxidizes a serum over months. The established reference method for rigid packages is ASTM D4991. If you do not own a chamber, a contract QC lab or your supplier’s inline inspection can run it.
3. Torque verification
Use a torque gauge to measure the force needed to open and close the cap. Consistent values across a production run signal a uniform, reliable seal; high variance means some units are under-compressed and some are over-stressed. Under-torquing leaks; over-torquing can crack the glass, strip the thread, or crush the liner so it loses recovery. Aim for a calibrated, repeatable window rather than "hand-tight."
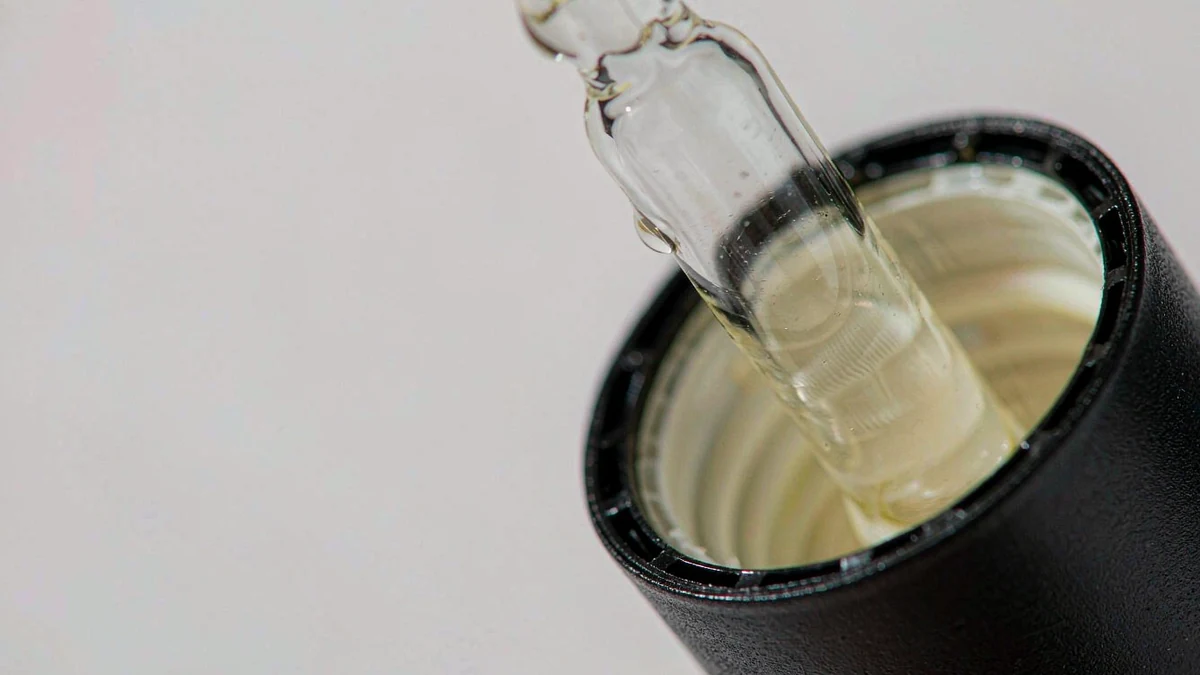
4. Temperature cycle
Heat expands both the product and the trapped air, pushing harder on a marginal seal. Leave filled samples in a warm room or a hot vehicle overnight, then re-check. Warehouse summers and container shipping create more pressure than gravity alone, and this test is where many "passed the inversion" bottles finally show weakness.
5. Transit and vibration simulation
Box a filled unit and shake, drop, or vibrate it the way a courier actually handles freight. This catches "cap back-off" — the slow unscrewing that vibration causes on standard threads — and loosening at the pipette-to-cap joint. Thread geometry matters here: a buttress thread resists back-off far better than a symmetrical one, which is why precision dropper assemblies specify it.
Test With Your Real Formula, Not Water
This is the mistake that sinks otherwise good validation. Water moves through a seal differently from a thick body oil, a thin alcohol-rich mist, or an acidic serum. A bottle that holds water can still seep oil, and a liner that is stable in water can swell or dissolve in solvent. Always test with the production-intent formula — or at minimum a sample of it — and include a material-compatibility check: immerse the bulb and any plastic parts in the formula at elevated temperature and look for swelling, cracking, or softening. For oil-heavy products, nitrile (NBR) or fluorocarbon (FKM) bulbs resist better; for aqueous serums, thermoplastic elastomers (TPE) recover well. If you are unsure which liner your formula needs, that question belongs in the brief, not after the first leak.
Build a Pre-Ship Leak Checklist
A routine only protects you if it is written down and repeated. Before you commit to a bulk order:
- Confirm the neck finish and closure match by spec (for example DIN 18 or GPI 400), not by eye.
- Verify liner compatibility with your specific formula — oils, alcohol, and acids each need a different wad.
- Record torque for open and close, and keep it consistent across the batch.
- Run an orientation matrix: upright, side, and inverted, each with documented acceptance criteria.
- Keep the records: component identities and lots, fill data, application settings, conditioning history, observations, and photos.
- Retest on any change: formula, finish, closure, liner, dropper, supplier, tooling, fill range, or shipping route.
A documented protocol also turns a supplier conversation from "it should be fine" into a spec you can hold them to. If a vendor offers only catalog photos and generic assurances, that is the risk signal, not the price.
Match the Bottle and Closure as One System
The cheapest insurance against leaks is buying the bottle and dropper as a matched, pre-tested pair from a single source. Standardized neck finishes (DIN 18, GPI 400) give repeatable torque and universal fit, but only if the supplier actually controls the tolerances. When you spec the parts separately, you inherit every tolerance stack-up between them. If you are still choosing the vessel, our guides to dropper bottles for essential oils, orifice reducers and drop size, and formula compatibility testing cover the decisions that feed directly into seal performance. For the neck itself, bottle neck sizes and the neck-finish matching guide explain how finish choice locks in what closures will ever seat correctly.
Want a Dropper Bottle That Survives Shipping?
Tell us your formula, fill volume, and destination markets. We help skincare, essential-oil, and CBD brands pair the right glass, neck finish, dropper, and liner as one validated system — and we will flag the torque, compatibility, and transit-test steps before you commit to a bulk order.
FAQ
How do you test a dropper bottle for leaks without lab equipment?
Start with the inversion test: fill with your real formula, cap to the documented torque, invert on white tissue for 24–48 hours, then check the neck for any film or stain. Follow it with a temperature cycle. These two catch most failures and need no chamber. For micro-leaks and air-freight risk, a vacuum or pressure-decay test (ASTM D4991) is worth running at a contract lab or by your supplier.
Should dropper bottles be tested upside down only?
No. Inverted exposure reveals sealing weaknesses fast, but it should be one position in an orientation matrix. Upright and side positions matter because real storage and transit stress different seal interfaces for different durations. Test all three with written acceptance criteria.
What cap torque should a dropper bottle use?
Use the documented torque window for your exact bottle-and-closure combination, measured with a torque gauge — not a number copied from another package. Finish geometry, liner design, materials, and capping equipment all differ, so the right value is specific to the parts you validated. Keep it consistent across the batch.
Why does a "watertight" bottle still leak oil?
Water and oil move through a seal differently. A liner or bulb that is stable in water can swell, soften, or degrade against essential oils, esters, or solvents, opening a path the water test never showed. Always validate with the production-intent formula, and pick the elastomer to match it (NBR or FKM for oils, TPE for aqueous serums).
Does a child-resistant cap guarantee the bottle will not leak?
No. Child-resistance is a closure-function standard, not a leak standard. A CRC cap can still seat poorly, be under-torqued, or use a liner incompatible with your formula. Leak performance depends on the neck-finish match, liner, torque, and the full closure system — evaluated separately from the CRC requirement.